How to create a multiboot USB using Ventoy
Ventoy is an open source tool to create bootable USB drive for ISO/WIM/IMG/VHD(x)/EFI files. After many years for using other tools (and writing my own) to create USB bootable drives in both Windows and Linxu, Ventoy is now my favorite tool for this purpose because it is super easy to install, use, and update.
Here are some advantages to using Ventoy:
- Install Ventoy once and use it forever. Update when required.
- No need to install Ventoy/format disk for a new OS.
- Install a new OS to the list of bootable OSes simply by copying them to the disk. Ventoy will automatically give you a boot menu to choose from the available OSes.
- Browse these OSes in your local disks and boot them.
- Use your Ventoy installed disk as a plain USB drive as well without affecting Ventoy’s function. This has been very advantageous to carry necessary system drivers and firmware files with minimal effort.
With these features, I highly recommend Ventoy for a must-have tool for every system administrator.
Install Ventoy
Go to Ventoy’s Downloads page and download the Ventoy zip file for your OS.
GUI
Windows
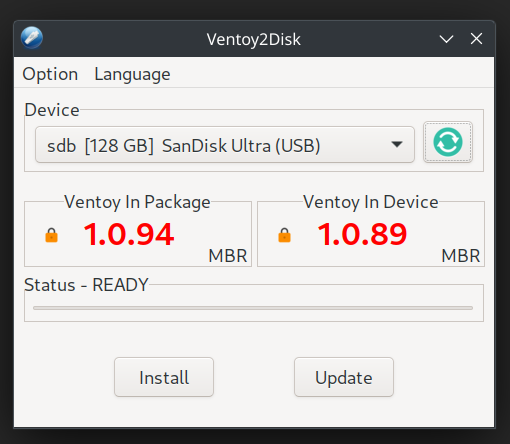
Run the file Ventoy2Disk.exe by double clicking on it or from the right-click context menu.
Linux
Run the following command to run the GUI version of Ventoy:
$ sudo ./VentoyGUI.x86_64
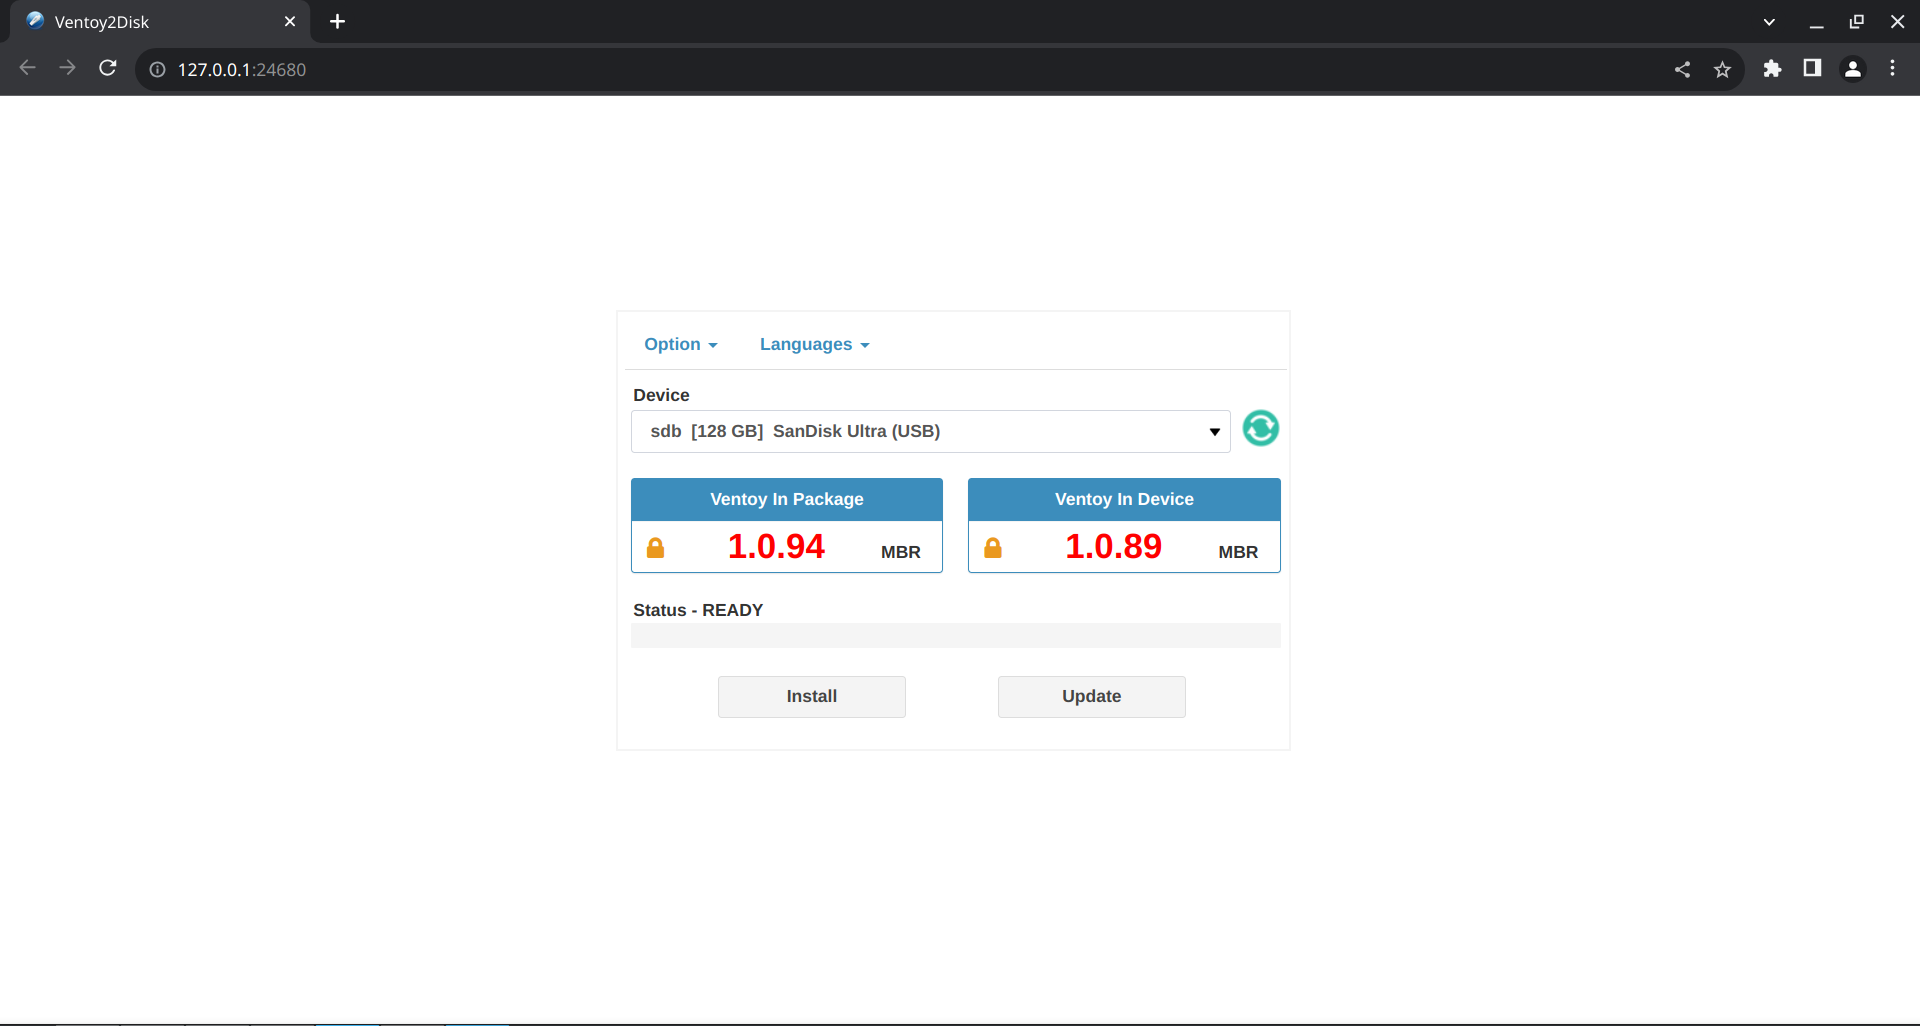
Alternatively, run the following command to run the web version of Ventoy:
$ sudo bash VentoyWeb.sh
Visit the link provided in the output of the above command to visit Ventoy’s webpage. You can also visit the link from your terminal by clicking the left mouse button while pressing down Ctrl key.
You can also specify a host and port to run the Ventoy in different host than the default one. This can be useful if you are wish to run Ventoy in a different Linux system (perhaps without a GUI or in a virtual environment) and use it from a different system (Windows or another Linux environment). Substitute your desired host and port int he command below to achieve this.
$ sudo bash VentoyWeb.sh -H 192.168.1.100 -P 8080
Install on a USB drive
Select the USB drive that you wish to install Ventoy in. Be extra careful about the drive you select as that will be formatted. Ventoy only shows USB drives by deafult. All drives can be shown if you need to install Ventoy on your local drive.
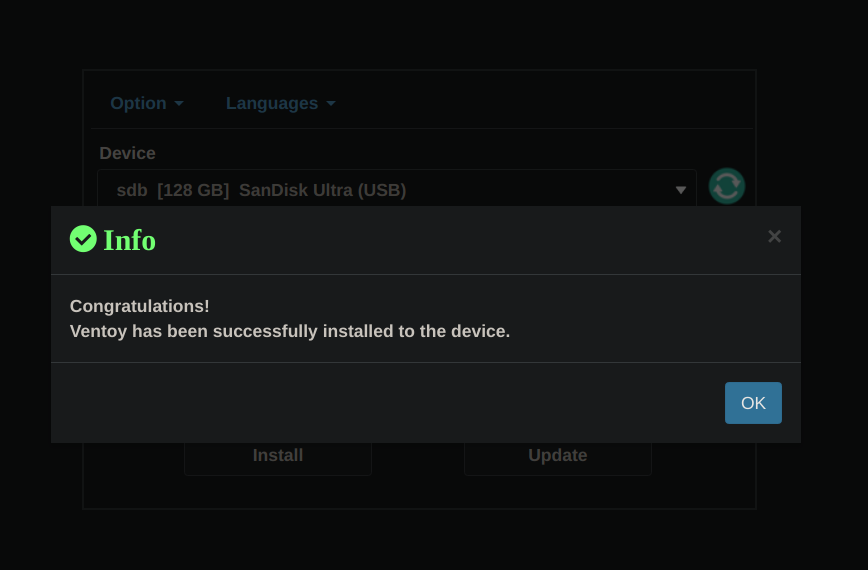
Click on Install and click on OK when prompted for checks. You will see the following window after the installation is completed.
You will get the following dialog box after the installation is complete.
CLI
For CLI enthusiasts, Ventoy provides CLI options as well.
If you know what you are doing, refer here for Windows CLI guide. See below for options for Linux.
If you don’t understand any parameters (what is /dev/sdX?), follow the GUI guide rather than CLI as you may end up formatting and possibly damaging a wrong disk (e.g., your local hard drive).
Ventoy2Disk.sh CMD [ OPTION ] /dev/sdX
  CMD:
    -i   install ventoy to sdX (fail if disk already installed with ventoy)
    -I   force install ventoy to sdX (no matter installed or not)
    -u   update ventoy in sdX
    -l   list Ventoy information in sdX

  OPTION: (optional)
   -r SIZE_MB  preserve some space at the bottom of the disk (only for install)
   -s          enable secure boot support (default is disabled)
   -g          use GPT partition style, default is MBR style (only for install)
   -L          Label of the main partition (default is Ventoy)
Adding an OS to Ventoy boot menu
After the installation is complete, the USB drive will have been divided into the two following partitions. Plug out and re plugin the USB drive if new partitions are not detected automatically.
- Partition 1
- exFAT filesystem by default (can be reformatted to NTFS/FAT32/UDF/XFS/Ext2 or more)
- Main parition to hold ISO files
- Partition 2
- EFI system partition for EFI boot
- Holds Ventoy files
In order to add an OS to the bootable Ventoy menu, you just need to copy iso files to the first partition. You can place the iso/wim/img/vhd(x) files any where in this partition. Ventoy will search all the directories and subdirectories recursively to find all the image files and list them in the boot menu alphabetically. You can also use plugin configuration to tell Ventoy only to search for image files in a fixed directory (and its subdirectories).
Recommendation
Create a folder called iso to keep all your bootable images in. Create another folder called flash to use it as a plain USB storage for the usual files. Create another folders as you require. I like to create print for any documents that need to be printed and a firmware folder for drivers and firmware files.
Update Ventoy
If a new version of Ventoy is released, you can update it to the USB drive in the same way you installed Ventoy. Ventoy2Disk.exe and entoy2Disk.sh will prompt you for update if the USB drive already installed with Ventoy. The update operation is completely safe and the files in the first partition will be untouched.
Conclusion
Ventoy is a great tool for creating and managing multiboot USB drives. Its ease of use is its greatest feature, which makes it especially attractive to beginners. With the first partition of Ventoy acting like a plain USB drive as well which can be used for storing any system drivers or firmware files, Ventoy is a great tool in a system administrator’s arsenal.